
Join our usefulletter and get 10% off your first order + exclusive recipes, offers and BTS
The Ultimate Vegan Guide to Non-Dairy Milks, Cheeses, and Butter
Plant-based milk and vegan butter and cheeses have exploded in popularity in the last few years. Whether you are lactose intolerant or just trying to focus on a more plant-based lifestyle, adding dairy-free alternatives into your diet is a great way to add nutrients to your diet and cut back on your dairy intake.
Here we’ll cover the benefits of dairy-free products, how to make your nut milk, and the best vegan butter and cheeses.
Why Choose Dairy-Free Milk, Butter, and Cheese?
There are a variety of benefits to choosing dairy-free milk, butter, and cheese, including:
- Suitable for lactose intolerant individuals
- 100% vegan
- An excellent way to add more plant-based foods to your diet
- Often contain key vitamins and minerals not found in cow’s milk
Nut Milks
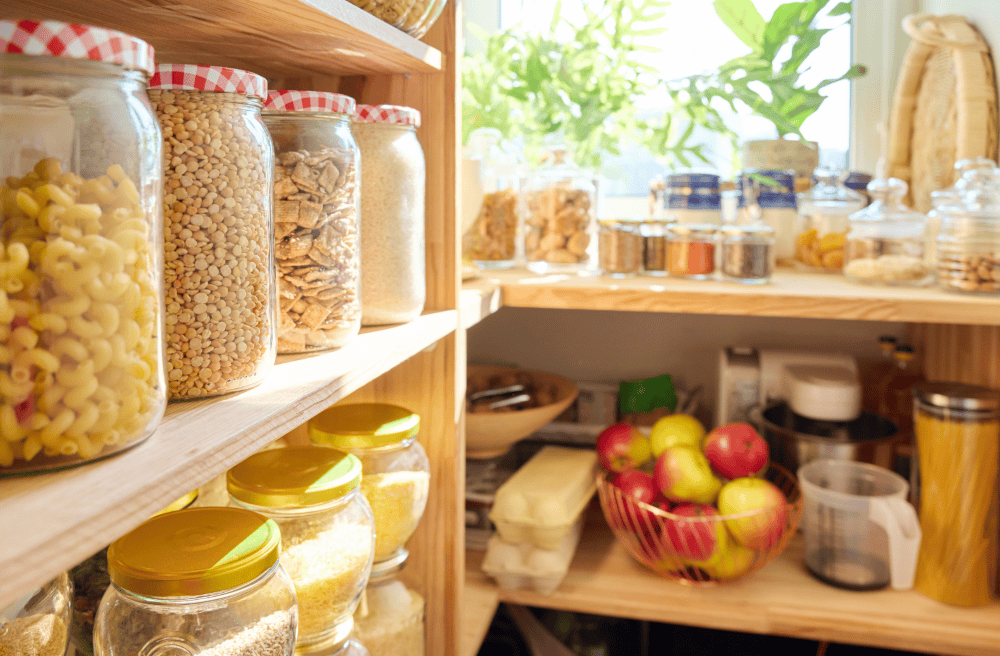
While there is a wide range of non-dairy milk available for purchase in shops, there are several advantages to making homemade nut milk. Although convenient, processed nut milk often contains a variety of undesirable ingredients.
The majority of store-bought nut milk contains roughly 2% nuts, with the remaining ingredients being a combination of water, stabilisers, flavouring, additives, and thickeners.
Carrageenan, a common emulsifier found in commercial nut milk, was found to trigger gut inflammation. While further studies are needed, making your nut milk is an easy way to avoid this ingredient. Homemade nut milk is also far more cost-effective compared to store-bought varieties.
Processed nut milk is also a common source of added sugar, containing as much as 15 grams of sugar per cup!
Benefits of making your nut milk at home include:
- Less expensive
- You are in complete control of the ingredients
- You can make your unique blends and flavours (add a dash of cinnamon, a splash of vanilla, etc.)
- No additives, stabilisers, emulsifiers, or preservatives
- No artificial sweeteners or added sugar (unless you choose to add a date or two for natural sweetness)
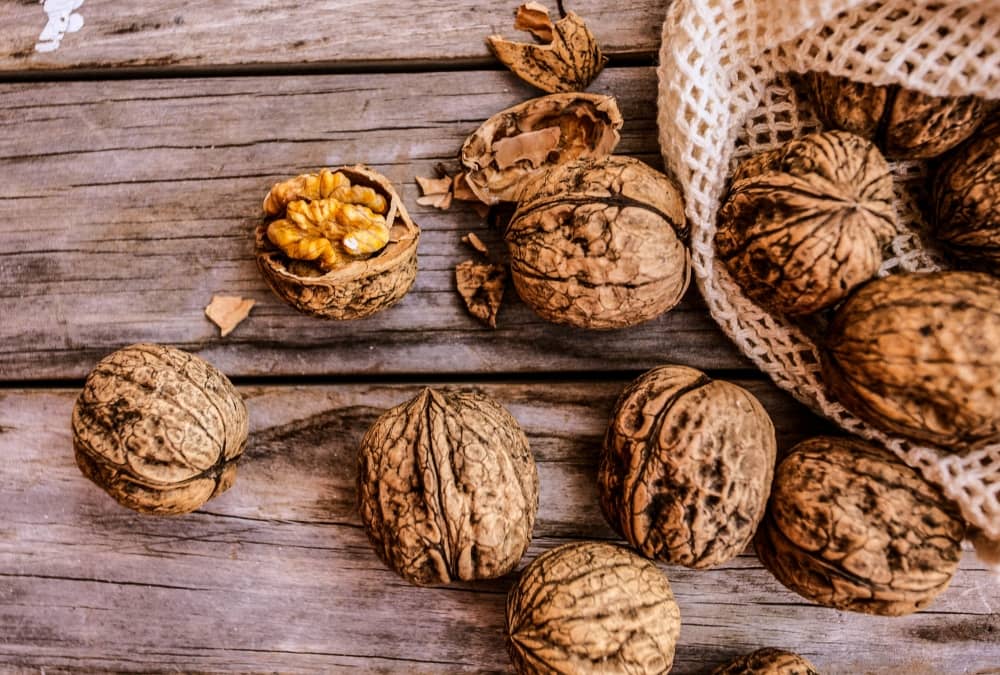
- The variety is endless (experiment with different nuts such as almonds, Brazil nuts, cashews, or combinations of your favourite nuts)
Nutrition Profile and Health Benefits of Nut Milk
Here’s a quick look at some of the benefits of nut milk:
- Dairy-free
- 100% vegan
- Lower in calories than cow milk
- High in mono and polyunsaturated fats that help support a healthy brain
- Contains a variety of vitamins and minerals not found in cow’s milk, including vitamin E, magnesium, vitamin B6, and copper
- Cholesterol free
- Gluten-free
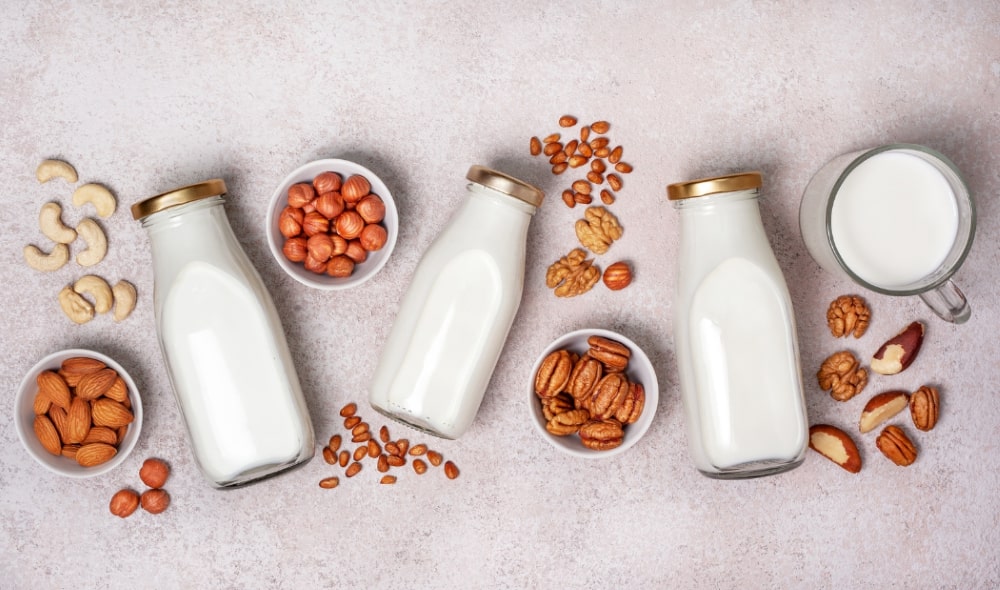
How to Make Homemade Nut Milk
Making your nut milk is surprisingly easy – and the result is far tastier than any store-bought version. Almonds are a popular choice, but you can experiment with other nut types (and seeds and other plant-based options) to find your favourite.
Here are some great options for homemade dairy-free milk:
- Almonds
- Pistachios
- Hemp seeds
- Brazil nuts
- Cashews (probably the easiest nut to work with since it is so soft and may even allow you to skip the soaking and straining process entirely)
- Macadamia nuts
- Pecans
- Pumpkin seeds
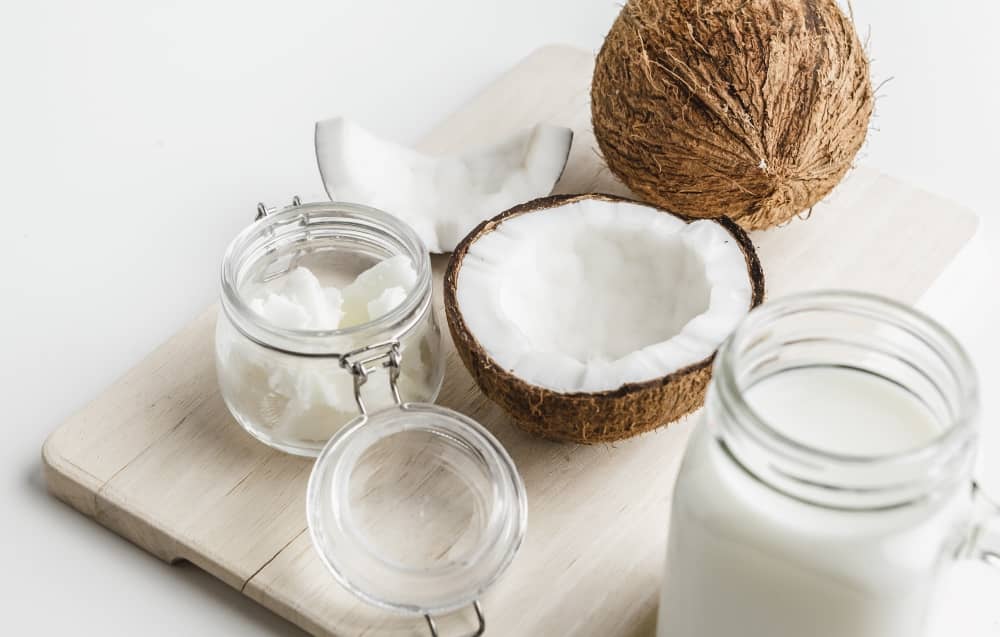
- Shredded coconut
- Oats (not gluten-free)
- Hazelnuts (best when peeled)
- Walnuts
Equipment Needed:
- A soaking bowl
- A powerful blender
- Colander
- Cheesecloth, a nut milk bag, or a thin, clean kitchen towel
- Fine-mesh strainer
- Nuts of your choice
Steps for homemade nut milk:
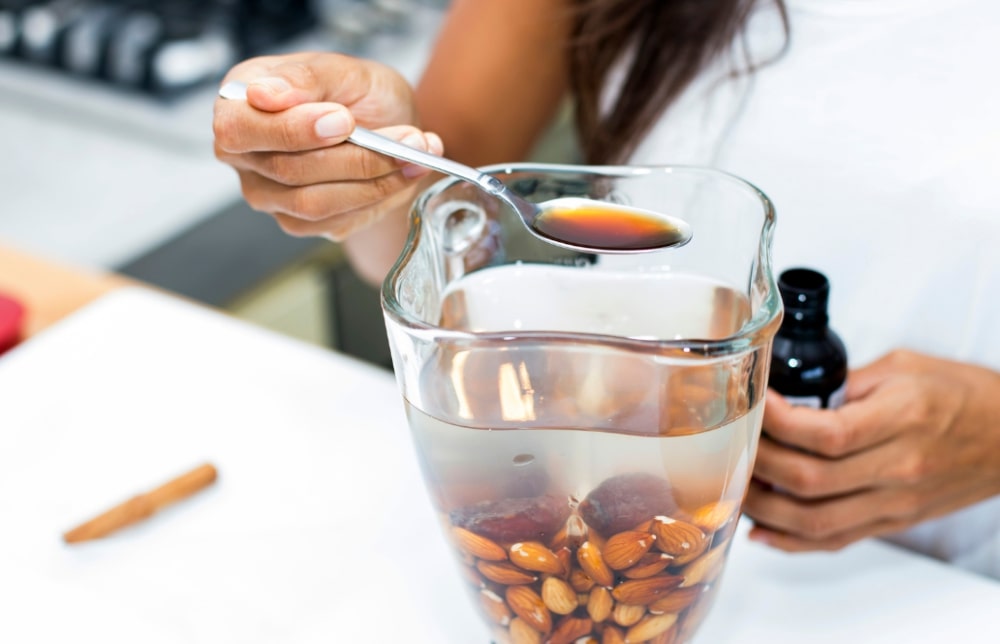
- Soak 1 ½ cup nuts of your choice at room temperature for at least 8 to 12 hours (softer nut varieties such as pecans and cashews are the exception and may not even need a soak, if using seeds or oats, amounts will vary)
- Drain and thoroughly rinse the nuts in a colander
- Transfer the soaked and rinsed nuts to a powerful blender
- Add any desired flavourings, sweeteners, and a pinch of salt, if desired (see below for flavour ideas)
- Add 4 cups of water
- Blend on high speed for several minutes until the mixture reaches a frothy, milk-like, smooth consistency
- Strain the nut milk using a clean towel, cheesecloth, or nut milk bag
For unsweetened, plain nut milk, simply add ½ teaspoon of salt. Add a couple of dates or 1 teaspoon of maple syrup for natural sweetness. If you prefer flavoured nut milk, the options are endless.
Fun Flavour Additions to Try
- Vanilla Nut Milk – Add 1 teaspoon of vanilla and 1 pitted Medjool date
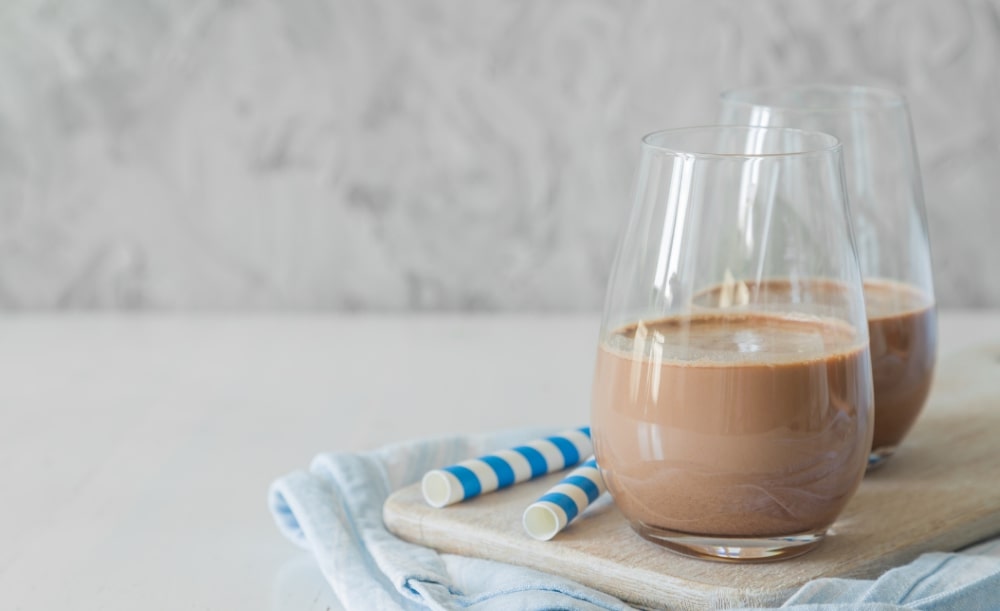
- Chocolate Nut Milk – Add a teaspoon of maple syrup and 2 teaspoons of high-quality cocoa powder
- Berries and Cream – Add 1/2 cup of berries of your choice
- Maple Cinnamon Nut Milk – Add a teaspoon of maple syrup and a teaspoon of cinnamon
- Golden Turmeric Milk – Add a touch of maple syrup and 1 teaspoon ground turmeric (or 2 teaspoons of freshly grated turmeric)
- Vanilla Cinnamon Milk – Add a teaspoon of cinnamon and 1 teaspoon of vanilla
Ways to Use Homemade Non-Dairy Milk
Homemade nut milk is best served cold. When stored in a glass jar with a tight-fitting lid, it can last in the fridge for up to 4 to 5 days. Since there are no stabilisers added, it is normal for homemade nut milk to separate — simply shake well before serving.
Here are the best ways to use homemade nut milk:
- Add to coffee
- Use in a vegan chai tea by adding some cinnamon vanilla nut milk to black tea along with maple syrup and your choice of spices (ginger, nutmeg, peppercorns, cloves, etc.)
- Add to smoothies
- Use in cooking in place of regular milk
- Pour over cereal or oatmeal

Ideas for Leftover Pulp from Making Nut Milk
Not sure what to do with the leftover almond pulp? Whatever you do, don’t throw it out! It contains valuable vitamins, minerals, and fibre.
One of the best ways to use leftover almond pulp is in baking. To do this, place your leftover pulp on a baking sheet and dry it in the oven on the lowest setting (this typically takes about 6 hours). This dried almond meal can then be used as a healthy flour in baking. To make an even finer texture, use a food processor to pulse the dried meal several times.
Dairy-Free Butters
There is vegan butter available in the shops, but depending on what you are cooking or eating, the following will also be good substitutes.
Specifically, we’ll be looking at nut butter, cacao butter, and coconut butter.
What Is Nut Butter?
Natural nut butter is simply nuts ground into a spreadable, smooth paste. While peanut butter is the most famous nut butter, other popular variations exist as well:
- Almond butter
- Cashew butter
- Brazil nut butter
- Walnut butter
- Hazelnut butter
- Macadamia nut butter
Nutritional Profile and Health Benefits of Nut Butters
Nut butter is incredibly nutrient-dense and offers a variety of benefits, including:
- High in healthy fats
- Naturally rich source of riboflavin, vitamin E, potassium, zinc, and magnesium
- Rich in fibre
- Gluten-free
- Vegan
- Excellent source of plant-based protein
As with dairy-free milk, you may want to consider making homemade nut butter to avoid the added sugar, vegetable oils, and stabilisers found in store-bought varieties.
If you do opt for store-bought nut butter, check the ingredient list to be sure it features 100% natural, simple ingredients.
How to Make Homemade Nut Butter
Making homemade is easy, takes less than 30 minutes, is more affordable than store-bought, and requires just one ingredient: 3 cups of nuts of your choice.
To make homemade nut butter:
- Roast your nuts for about 10 minutes (warm nuts blend easier and have a better flavour, but you can skip this step if desired)
- After roasting, allow nuts to cool until they are warm but not hot
- Transfer nuts to a high-quality, durable food processor or high-speed blender
- Blend until creamy, stopping to scrape down the sides when needed
- Be patient – it usually takes about 10 minutes for the nuts to be creamy and smooth (if the mixture gets too hot during blending, let your blender or food processor rest a few minutes before continuing)
- Blend in any desired add-ins
- Allow the nut butter to cool before transferring it to a glass jar with a tight-fitting lid (sea salt or a bit of vanilla make great add-ins if desired, but additional ingredients such as oil, maple syrup, or water may affect the texture and are best avoided or limited)
- Store for up to 2 weeks
How to Use Nut Butter
Nut butter is easy to use and a great way to add plant-based protein to your diet. Here are some of our favourite ways to use nut butter:
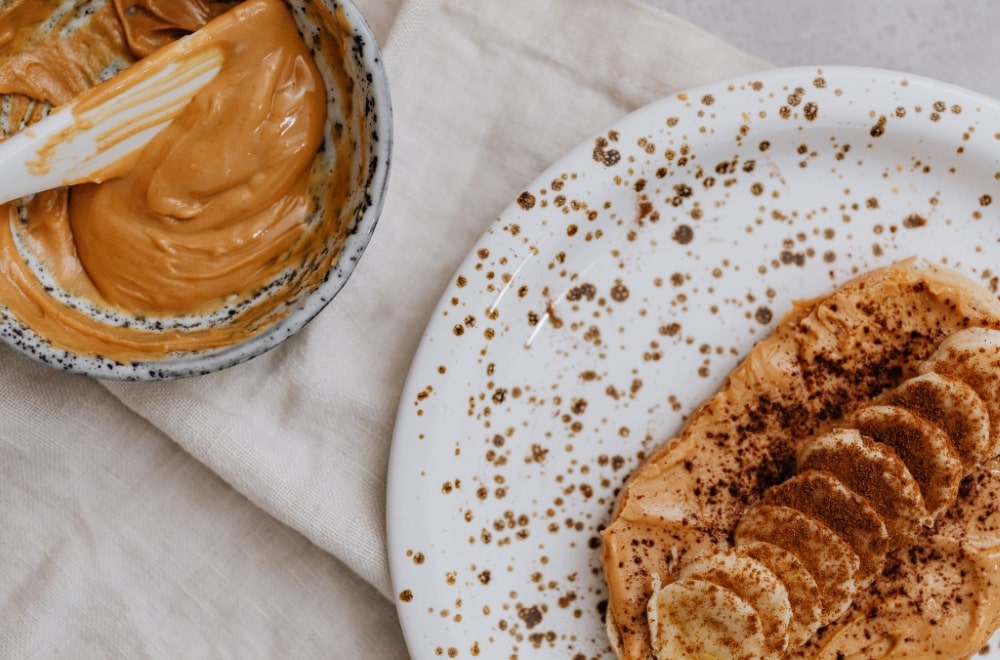
- Spread it over crackers or toast, top it with banana slices and sprinkle a bit of cacao powder
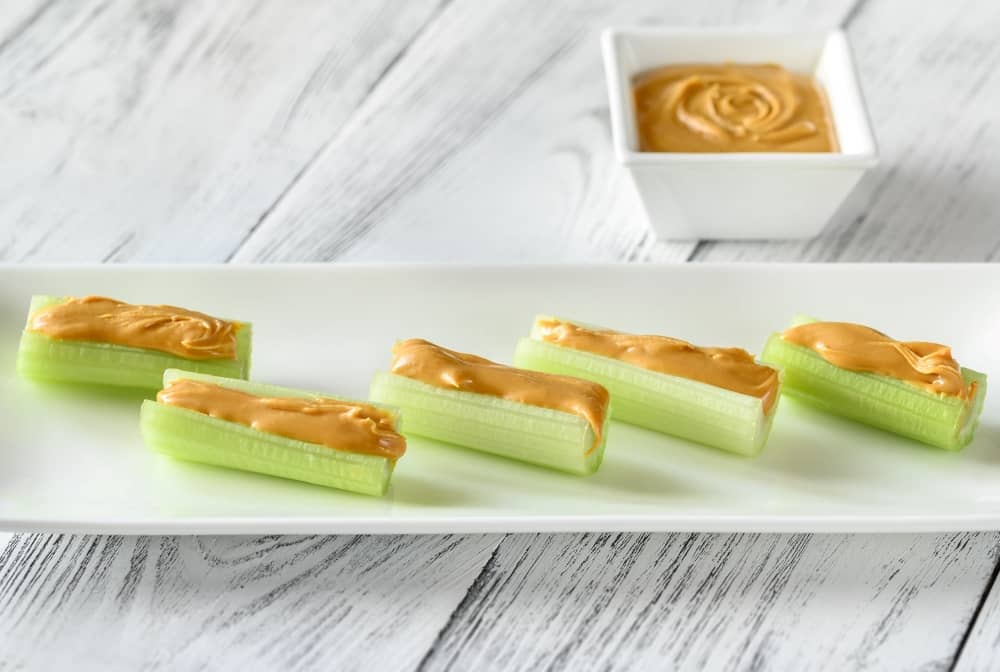
- Use it as a dip for veggie sticks or apple slices
- Add a spoonful to chia pudding or porridge
- Use it as a spread over muffins or banana bread
- Swirl it into yoghurt for a boost of plant-based protein
What Is Cacao Butter?
Cacao butter is a plant-based fat sourced from the cacao bean. Used in both foods and body products, it boasts a deliciously intoxicating chocolate aroma.
Benefits of cacao butter:
- Dairy-free
- Vegan
- Sugar-free
- Gluten-free
- Extremely shelf-stable
- Contains antioxidants
- High in healthy fats
- Perfect for melt in your mouth treats
How to Use Cacao Butter
Creamy, silky cacao butter serves as an amazing dairy-free base for chocolate treats. Try cacao butter in:
- Smoothies
- Cakes
- Muffins
- Energy balls
- Tarts
Cacao butter can also be used as a natural moisturiser to soothe chapped lips or sunburn.
What Is Coconut Butter
When the fat and flesh of coconut are blended, the result is a creamy, rich buttery spread known as Coconut Butter.
Benefits of coconut butter include:
- Dairy-free
- Gluten-free
- Vegan
- Paleo
- Nut-free
- Free of added sweeteners and additives
- High in healthy fats
- Rich in fibre
- Rich in lauric acid, an antimicrobial compound with a variety of health benefits
How to Use Coconut Butter
Coconut butter is a nutritious, versatile ingredient that can be used in:
- Spreads
- Sauces
- Curries
- Raw desserts
- Baking
- Raw energy bites
- Granola
- Smoothies
- Dairy-free fudge
- Drizzled over fruit
- Stirred into hot beverages to add creaminess
Tips for Using Coconut Butter
- To soften it, place the jar in a bowl of warm water or on a sunny window sill
- If a layer of coconut oil forms on top, simply warm the jar up and mix it all back together with a spoon (oil separation is natural)
Dairy-Free Cheeses
There are a variety of wonderful vegan cheeses available. If you are looking for store-bought dairy-free cheese, one of our favourite local vegan cheese brands is Noshing.
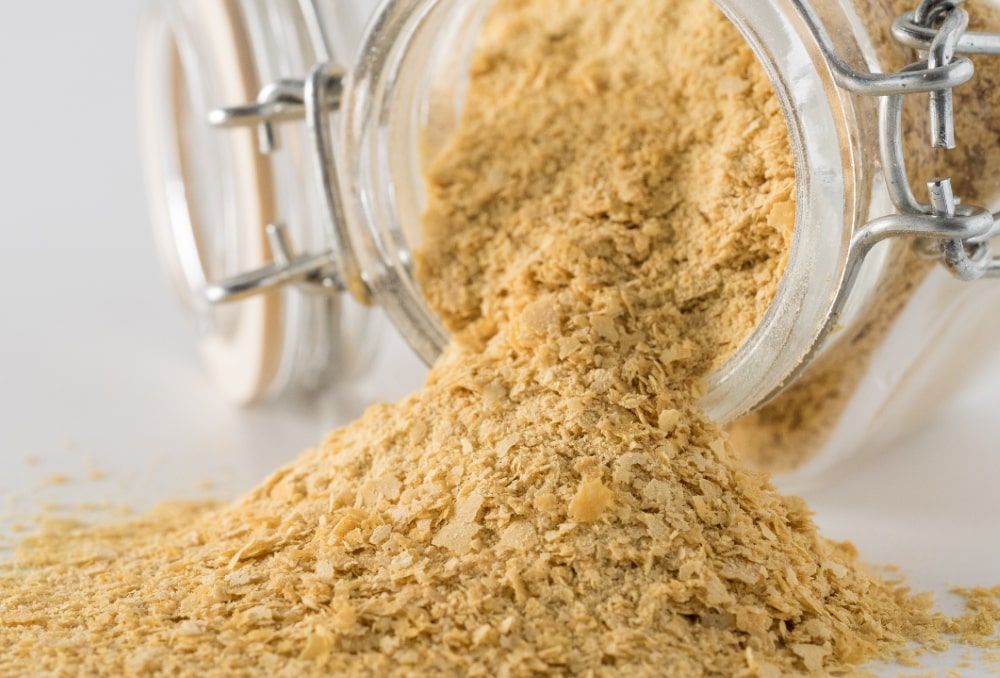
A healthy, easy cheese substitute you can enjoy at home is nutritional yeast flakes. Vegans love this superfood for its high content of vitamin B12, and protein – and its naturally cheesy, savoury taste.
Nutritional Yeast is a dry, inactive form of a particular species of yeast, Saccharomyces cerevisiae. The yeast is fermented and fortified with nutrients, dried, and rolled into flakes. During the drying process, the yeast is inactivated, meaning it’s in a different form than the type of yeast that causes bread to rise.
Benefits of Nutritional Yeast
- Contains selenium, zinc, B vitamins, and folic acid
- The excellent vegan source of vitamin B12
- Great source of plant-based protein (just one tablespoon provides 2 grams of protein)
- Contains all 9 essential amino acids, making it a complete protein
- Naturally gluten and dairy-free
- Free of artificial colours and flavours
How to Use Nutritional Yeast Flakes
- Sprinkle over popcorn
- Use it in place of Parmesan cheese
- Sprinkle on top of roasted veggies, porridge, soup, stews, or pasta
- Use as a topping for salad
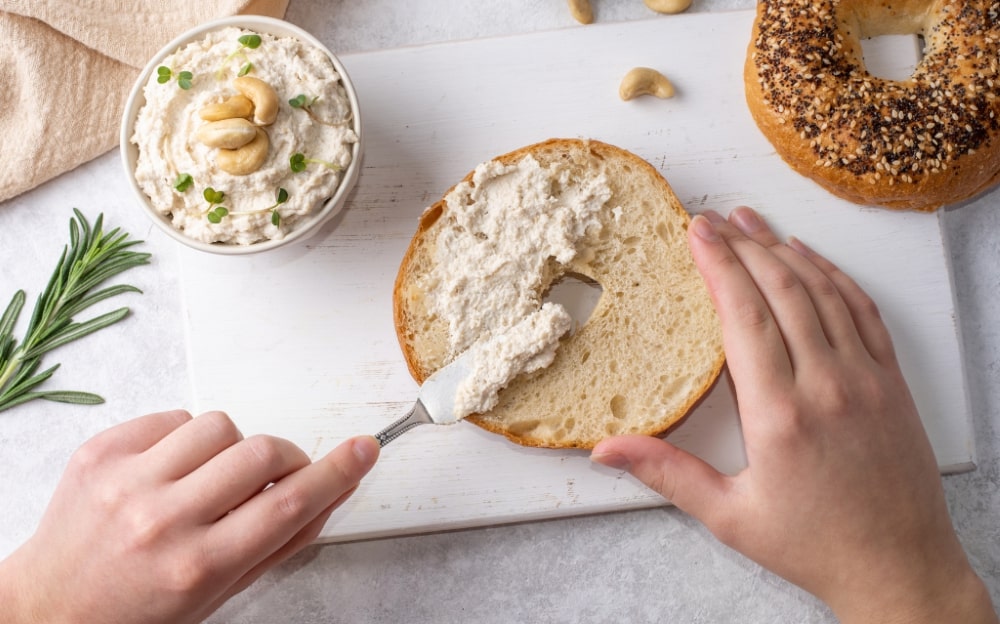
Cashew Cheese Sauce
Here’s a delicious, simple vegan cheese sauce you can make at home. It’s a delicious, dairy-free way to enjoy some cheesy goodness.
How to make Cashew Cheese Sauce:
¾ cup raw cashews
1 small clove of garlic, crushed
2 tsp apple cider vinegar
2 tsp olive oil
½ tsp salt
1 tbsp nutritional yeast
½ cup water
Blend all ingredients in a blender at high speed until smooth.
How to Use Cashew Cheese Sauce
- As a vegan nacho dip
- Drizzled over veggies (it’s especially delicious over steamed broccoli)
- As a vegan sauce for mac’n’cheese
- Drizzled over a baked potato
- As a dip for pretzels or crackers

Looking for More Tips on Living a Plant-based Lifestyle?
We love sharing our passion for vegan and plant-based cooking. Follow our blog or check out our recipes page for tons of plant-based inspiration.